It’s true that launching an iOS app on Apple app store is an imminent task for the app developers. Apple is highly dedicated to user-experience and app store always offers such app that is user-friendly and not harmful for the device. Hence, the task of publishing an app on app store is really challenging. App store is a crowded app platform and has lots of guidelines for approving an app. But, once your app gets listed on app store, it can reach huge number of users and available for public downloading. According to a report on Statista, Apple app store is the second largest app platform (after the Google Play store) in world of mobile apps.
So, once your app is ready for publishing, you need to know the guidelines and process of how to upload app on app store.

Prerequisites:
Before uploading the application to app store, just check you following things are ready.
- Before designing your app, read carefully the Apple App Stores Guidelines on what to include or avoid if you don’t want to be penalized.
- Before submitting the check that your app accomplishes the Apple Developer Program License Agreement. This license contains the agreement related to data usage and sharing, data collection and storage, collecting data from kids, and health research data protection.
- Before submitting the on the app store make sure that you have double-checked and tested the app thoroughly to find and fix bugs.
- Keep ready the app’s Metadata which is the title and description of the app along with the screenshots you need to upload.
- Never forget to add a privacy policy to your app if you want to collect the personal information of the users.
- Make sure that your app is unique and not copying the design, name and icon of any other application.
- You need to read your app icon for the App Store in JPG or PNG format with a minimum resolution of 72 DPI and the RGB colour space.
- Prepare the active URL of the marketing information and support information and privacy policy. Now, you are ready for submitting the app. Here, we’ll discuss how to make an app in the app store.
How to upload app on app store:
After spending days, weeks and months developing your application … finally, the time came to release it and make it public. Here the step-by-step process will guide you how to upload app on app store.
Make a developer account:
You must sign up for the Apple Developer Program to submit your application to App Store. The yearly cost of maintaining this account is $99. This account not only allows you to publish the app, but it also provides some other benefits like TestFlight and beta version access to Apple software.
Get an App Store Connect:
- You’ll get access to the website apple app store to connect after signing up with your Apple ID that used to enroll in the Apple Developer Program.
- You can manage your app and all the things related to your application from this apple store connect.
- If your app is Paid-app, you have to sign in the contract of payment terms.
- If the app you need to submit is a paid one, you must sign a contract covering payment terms. No need to sign the contract for the free app.
- You will need an app build before you submit your app for review. You need to assign it to your developer account.
- Before publishing your app on Apple App Store, you need to undergo an app certification process and follow the App Store guidelines.
- This is what the apple app store connect dashboard looks like.

ADD A NEW APP:
- From apple store connect; go to My Apps menu and select “+” option to create a new app.
- Now you need to fill up the following detail- platform, app name, default language, App bundle ID, and SKU. You can’t alter these details later, so be careful about what you enter.
- Platforms- Name the Apple platforms that support your app.
- Name – State the name (up to 30 characters) of your app by mentioning a specific keyword that improves the rank of your app on the App Store according to the ASO.
- Primary Language– Mention the main language for the app’s information.
- Bundle ID– If your app builder is prepared, select the same bundle ID or choose from the app identifier in your Xcode project Info.plist file (in the target’s General > Identity section) registered in your developer account.
- SKU – The Stock Keeping Unit or SKU is an optional value. It can be helpful when you connect your app sales with the internal SKU number that is used by your accounting.
- User access – Mention whether your app is reachable to any specific groups of people or every member in your apple store connects organization.


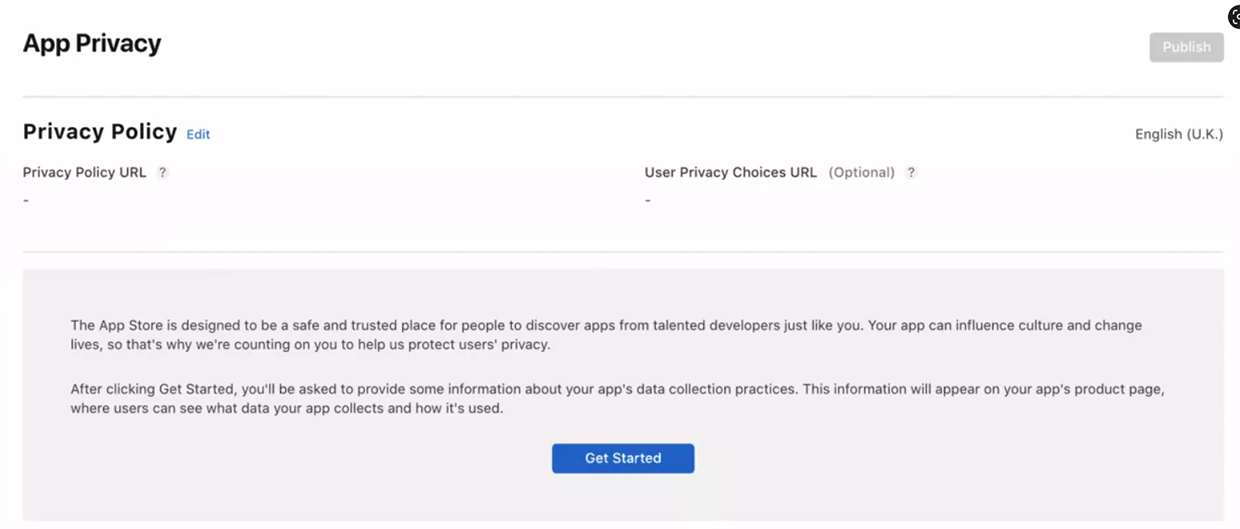
App Name and Privacy policy
- Here, you need to fill in the information about your app. The name, description, the category (to be placed in the App Store), the minimum age of the audience and a privacy policy and support URL.
- If your app is related to social media and needs a log-in, you have to give a test account and password to the Apple reviewer.
- Here, you also have to put a public URL to a privacy policy from your website.
App pricing:
If your app is paid app, you have to fix the pricing for your app from the option Pricing and Availability.
App Release:
Version control has an important role during application release. You have three options to decide how your app will be released after it passes the certification process.
- Manually: If you select this option, you have to come to apple app store Connect and release it.
- Immediately: Click this option if you want to release the app as soon as the passes the certification.
- On a date: Choose this option if you want to release on some specific date (after passing the certification).
The second tab includes the app details entered during the app creation, along with the app’s subtitle and a spot to select app category.
Another additional option is Content Rights. This is about the rights of your app to use or display the content from a third-party source.
In-App Purchases
Here you can define everything relevant to in-app purchases, if your app gives facility to the users to buy virtual products, such as access to features, points, and other content, you need to mention everything about In-App purchase
Four types are there:
- Consumable
- Non-Consumable
- Auto-Renewable Subscription
- Non-Renewing Subscription
App Store Screenshots:
Here, you have to provide the information related to the screenshots, you have submitted.

Submit for Review:
When all the metadata is ready, you can click the “Submit for Review” button. You can find it in the “iOS App/Prepare for Submission” section. You can be also asked to answer the Export Compliance, Content Rights, and Advertising Identifier questions.

Go live:

Your app might be rejected for a variety of reasons. You will be notified about it by email. You’ll see its notification in the apple app store connect and also find an option to visit the Resolution Center and review the details.
You have to resolve the issue, design a new app, and submit it for review, if anything is confusing
You can ask a question in the Resolution Center. Also, if you find that the app was wrongly rejected, you can submit it for appeal.
When your app becomes approved, the status will be Ready for Sale unless you have selected a manual release. In that case, you have to click Release. The app will be noticeable in the App Store a few hours after being released.
Now, you can monitor your app at apple store connect by opening the Analytics tab.
You will get insights into the number of users, session times, sales, crashes, etc.
It is also important to control bugs and make your app updates regularly.
Final thought:
Apple has to tightly control all aspects of its ecosystem, especially with third-party app developers. Hence, the App Store has the most stringent approval process compared to other app platforms like Google Play. So, before publishing apps on app store, you should have a clear idea about the approval process. Good knowledge about how to upload app on App Store makes the process easy. Then you could avoid rejection by the app store. If you think that you’ll release a new iOS app, you must have to contact an iOS App Development Company for that. The experienced developer will create a smooth running and bug-free iOS app for you.